| EZcube | ||||
|
|
|
|
|
|
| Special Effects | Photo Ideas & Inspiration | Brooks Photography Workshops | Photo Kit Comparison Table |
|
Most common lighting myths |
|
Popular
bulb choicesEnergy
useLumens {brightness} Color
Needs Color correction Hours
of Use$ Fits standard
fixturesOperating
tempScore
1-10
Trumpet Top
Compact Fluorescent30W 2100
Daylight
(5000K)NO 10,000 $$ YES COOL +9
Cool/soft White
Compact Fluorescent26W
1700
Greenish
cast
(2700K)YES 10,000
$$
a socket
extender
requiredCOOL +6
Ott Light
Compact Fluorescent20W
1200
Daylight
(5000k)
NO 10,000
$$$$
a socket
extender
requiredCOOL +4
Photo Flood
Incandescent250W 6,500
Yellow
(3200K)
color shift over timeYES 20 $$ YES HOT +3
Sylvania "Daylight"
Incandescent120W
1250
Yellow
(3500K)YES 750
$
YES HOT +2
GE Reveal
Incandescent120W
1000
Yellow
(2700K)YES 20
$
YES HOT +2
Quartz Halogen1000W 10,000 Yellow
(3200K)YES 100 $$ NO Extremely HOT +2
If your background is actually white but appears grey in your image or if everything in your image appears darker than you would like, the image has been underexposed. It doesn't mean you need more lights or bigger lights, it means you need to let more light get to your camera's image sensor.
The most likely reason not enough light is getting to the camera's image sensor is that the camera's auto exposure mechanism has set the exposure too low. The camera's auto exposure system doesn't expect to see a very light background. Since it assumes the background is grey rather than white, it exposes the image to achieve a grey background rather than a white background. The result is that everything in the image appears darker than it should.
The solution is quite simple, adjust your camera's exposure compensation setting to slightly overexpose the image. [Nearly every digital camera has and exposure compensation setting, but you may need to read your camera's user manual to find how to adjust yours]. Once you locate the controls for exposure compensation simply increase the exposure until the image looks correct. When photographing against a white background you will normally need to increase the exposure by about 1 to 1 1/3. (Camera makers make this confusing by labeling the exposure adjustment setting as EV, Exposure Value).
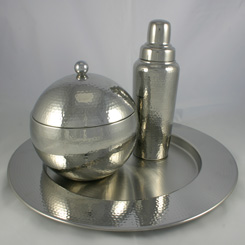
Default setting E.V. 0.0 too dark
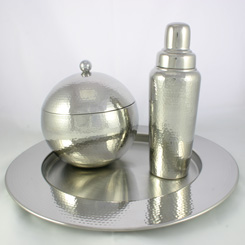
E.V. +1.0 brighter
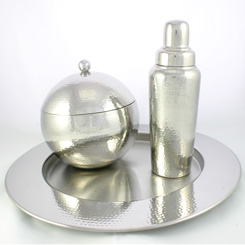
E.V. +2.0 brightest exposure
If you are comfortable with photography and understand how the camera's aperture and shutter speed affect the exposure, you will want to pay attention to how the camera adjusts the exposure. If the camera increases the aperture it will decrease the depth of field.
Many types of products require special lighting. Some products work best with two lights, three lights, sparkler lights, underlighting or a combination. This lighting chart, can be very helpful in understanding which product types may require a unique combination of lights and what kind would work best. One very important factor to always consider is that the combination of lights you choose must match in color temperature. Do not mix different color light sources.
![]()
Copyright © 2007 TableTop Studio LLC. All rights reserved.