How to add sparkles to your image
|
|
|
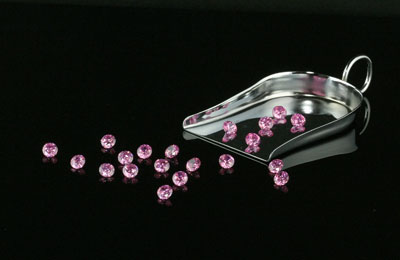
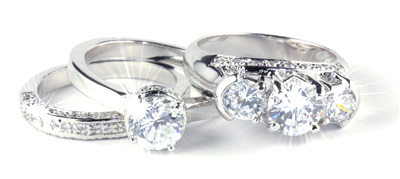
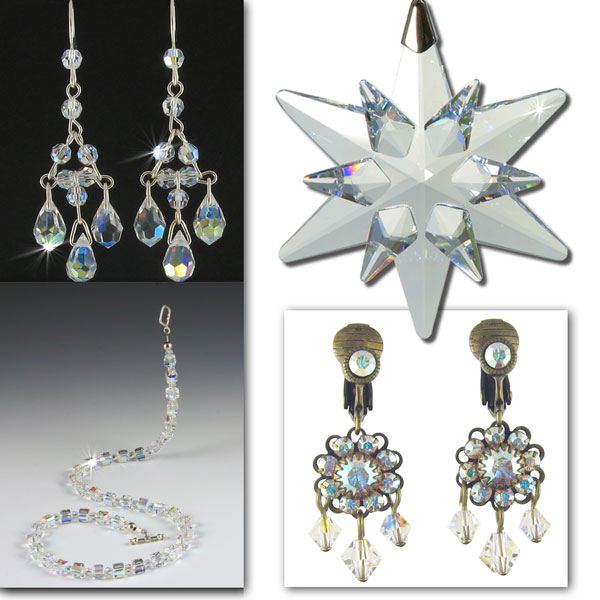
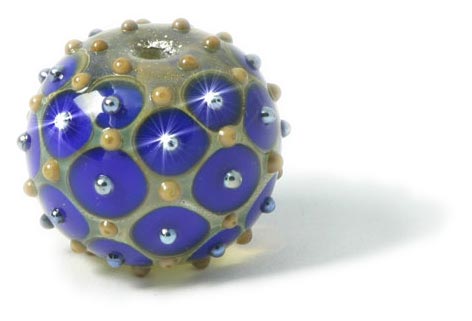
For example, bridal magazines, often display diamond rings with many little sparkles on the stones. In most cases these sparkles or "stars" were added in " post production" using Photoshop or a similar program. With our EZstar effects CD, just a few clicks in Photoshop or Elements and " your image will sparkle". Take any ordinary image and make it precious. This technique use to be difficult in photography and required special equipment. But now it could not be easier to add a touch of brilliance to your images. |
|
|
|
|
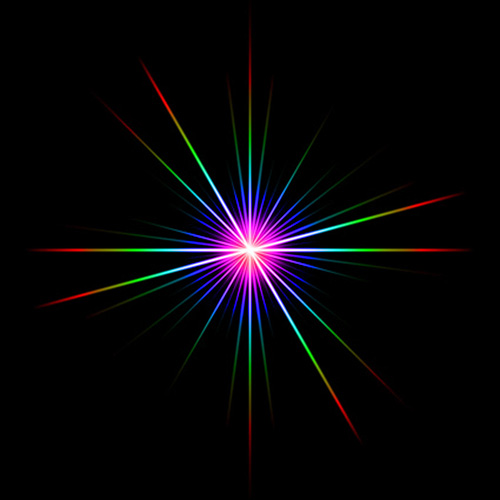
1. Open your photo and one of the stars in your favorite photo editing software. 2. You
can open
this sample colored star file
EZstar.jpg to use for demonstration purposes. |
 |
3. Drag and drop the Star image onto your photo (You can also Copy and Paste it onto a new layer.) 4. Resize (CTRL+T to activate the sizing box) and Rotate the star to taste.
|
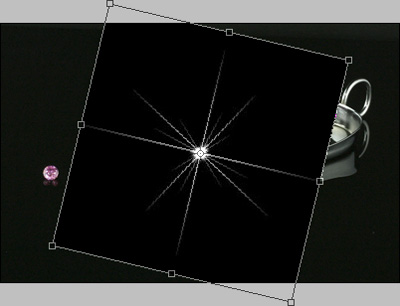 |
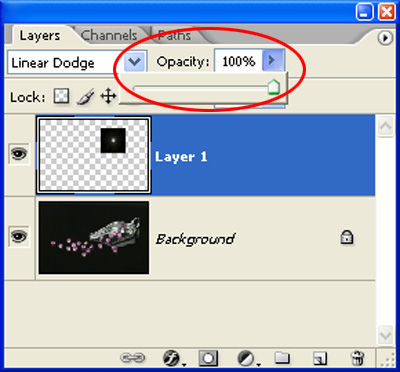
5. Change the Layer Mode to Linear Dodge or
Overlay. This will cause the star image's white background to disappear. |
 |
4.
Adjust the Layer Opacity to taste. |
 |
5. To add additional stars to the same image: Duplicate (CTRL+J) the Star and move it on top of other bright spots in your image. You can resize the individual Stars, but do not change the rotation of the stars relative to each other, or you will get a fake looking effect. Don't get carried away with your new-found star power. Professionals add just enough star effect to subtly enhance an image. |
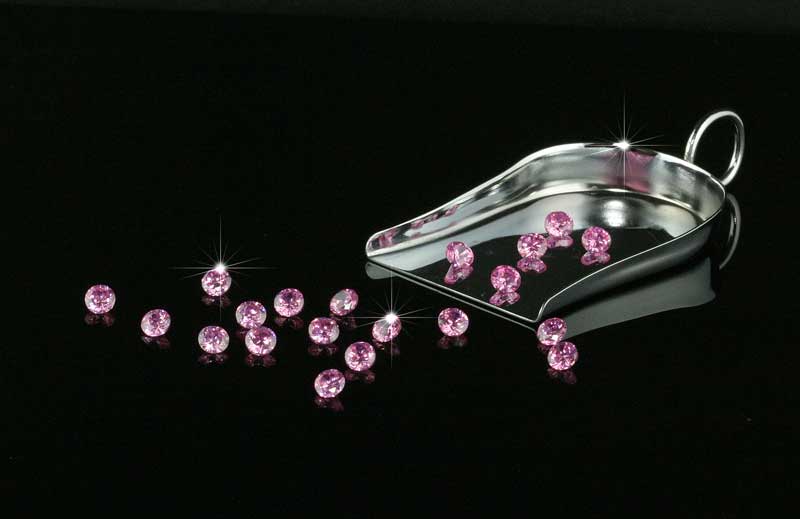 |
(Click this image for a larger view) ---> |
|
|
A more
advanced way to add the star effect by using brushes.
|
|
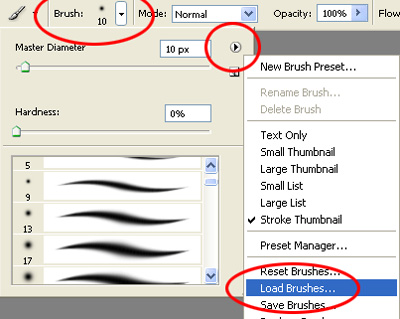
Loading the EZ star brushes 1. In the brushes' drop-down menu - Click on the right arrow button, then choose "Load Brushes". 2. Browse for the EZstar brushes on the
EZstar effects CD, then click on the "Load" button. We have
placed a brush for you to try
here. |
 |
Painting stars 1. Open your photo. 2. Select the brush you want, Adjust its size and change the brush mode to Linear Dodge - In this case we use white as your brush color. 3. Click on bright spots where you would like the star effect to appear. |
 |
Color Variation 1. Select a color for your brush and apply it to your image using the Linear Dodge mode. |
 |
|
The EZstar effects CD includes:
|
|
|
For the fully animated version of
these instructions |
|
)
)
)
)