Jewelry Photography
How do you take pictures of jewelry?
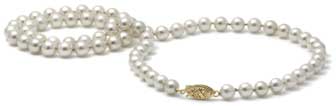
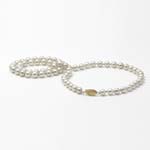
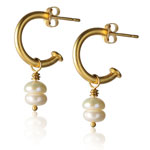
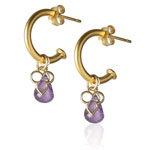
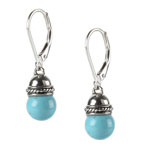
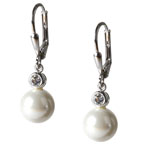
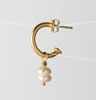
- How do you take pictures of pearls?
- How do you create a soft reflection?
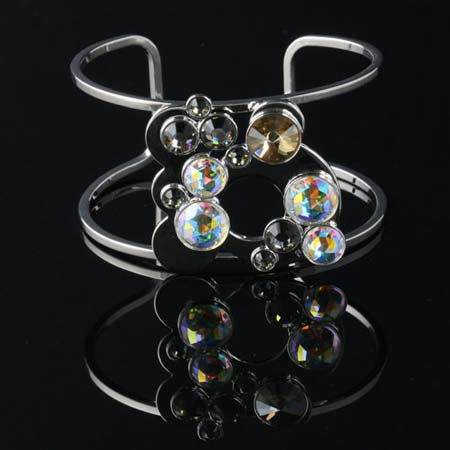
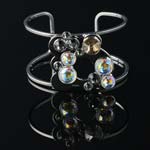
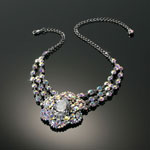
- Creating a dramatic reflection using black acrylic or glass
- Jewelry Photography Kits & equipment
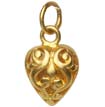
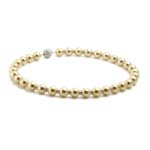
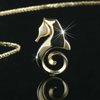
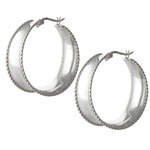
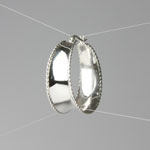
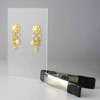
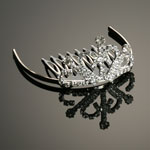
- Working with highly reflective gold & silver jewelry
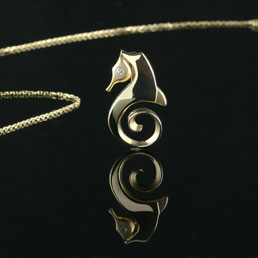
- What is a simple way to hang a necklace?
- Jewelry photography classes & workshops
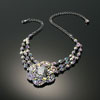
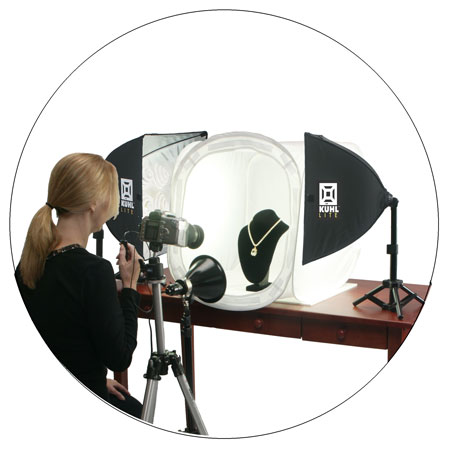
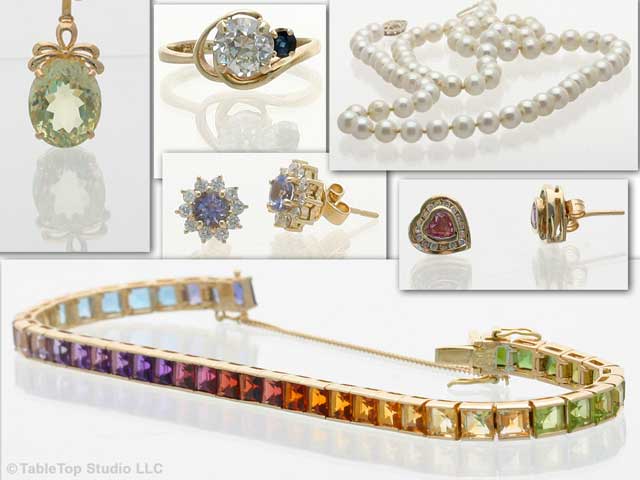
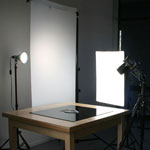
Taking good quality pictures of jewelry for most is an unsolved mystery. However, there are some simple techniques used by the professional, which even amateur photographers can use to obtain dramatic results with minimal effort. The following examples show the basic setup that should allow anyone to achieve results they can be proud of. These images were all taken using a Canon Digital Rebel camera with a 100MM lens.
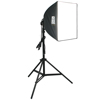
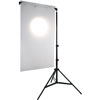
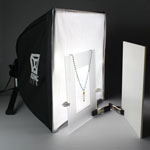
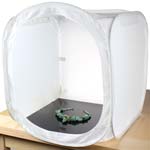
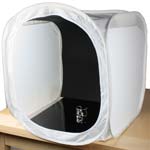
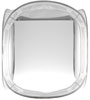
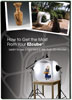
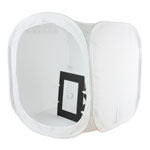
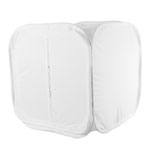
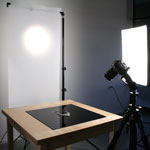
The basic setup we used included an EZcube light tent to soften the shadows and
eliminate glare, while providing a clean and clutter free background. We used
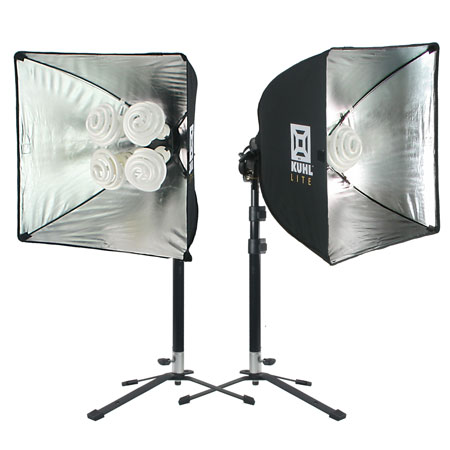
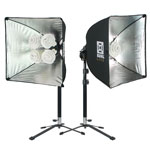
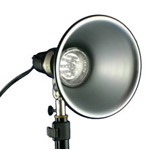
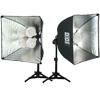
TabletopStudio lights as the primary
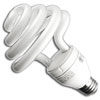
light source, equipped with true color daylight balanced compact fluorescent
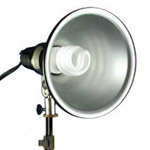
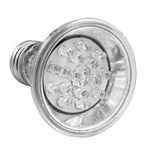
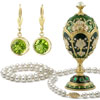
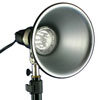
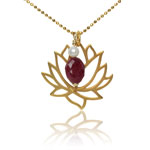
bulbs. We also used a special Diamond dazzler LED bulb to light up the diamonds and faceted gems
in the example images on this page.
The keys to good jewelry photography are
sharpness, lighting, exposure, and in the case of gemstone photography,
creating some sparkle. Good jewelry photography needs sharp, crisp focus. It is worth getting out your camera's manual to
find out how to put the camera in "spot focus" mode. The normal focus
mode of digital cameras is some sort of average focus mode. That means
that the camera will look at a wide area of a scene and base the focus on
that area. Since you want to control where the camera is focusing,
it's better for jewelry photography to put the camera into spot focus mode,
this will allow you to control more precisely what the camera will be focusing
on. However, even in spot focus mode many digital cameras can't
really "lock-in" on a small shiny object like gemstone jewelry using auto
focus.So unfortunately, for close-up jewelry photography,
you need a camera with good manual focus
capability.
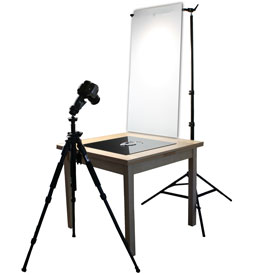
Another key to a sharp image is a tripod. It is absolutely essential to use a tripod or similar camera support when shooting jewelry. A sturdy tripod is better than a flimsy one, but any tripod is many times better than no tripod. Use a tripod.
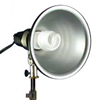
Another key to good jewelry photography is the lighting. Normally diffuse (soft) lighting works best for jewelry. You have probably already discovered that an on-camera flash does not lead to good jewelry photos. Not only is the camera's flash too bright at such a close distance, but it is probably in the wrong position to actually light up the jewelry properly. On camera flash will also create harsh and distracting shadows. Rather than flash, we like to use continuous lighting for product photography. Using continuous lights makes it easier to visualize what the final image will be like.
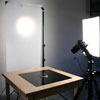
We prefer daylight balanced compact fluorescent bulbs for lighting. These bulbs provide nice, natural-colored light and they produce very little heat so they can be left on for long photo sessions without over heating the photographer. Even fluorescent light bulbs will need to be diffused and for that we use an EZcube light tent as the diffuser. A small light tent makes it easy to reduce glare and control shadows for jewelry photography.
Proper exposure is also key to good jewelry photography. (For more information on adjusting the exposure for jewelry images take a look at this page.) Now lets look at some specific jewelry photography situations that go beyond the basics.


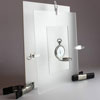
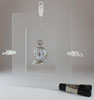
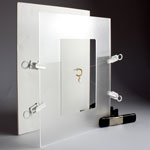 Jewelry Freeze Frame
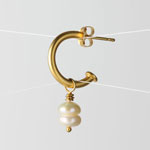 Un-edited image from camera
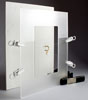
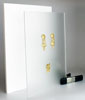
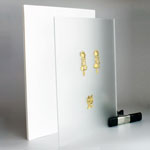 Large clear acrylic stud holder
 Small acrylic stud holder
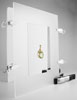
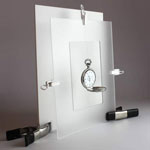 Pocket watch in Freeze Frame
 Before touch-up in Photoshop
 compact fluorescent bulbs, putting out a substantial amount of light, which allows you to shoot with your camera set to a faster shutter speed.

 compact fluorescent bulbs, putting out a substantial amount of light, which allows you to shoot with your camera set to a faster shutter speed.