|

|
|
|
Soft lighting
Underlighting
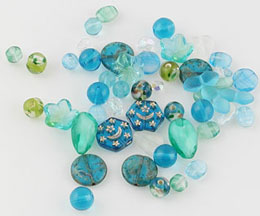
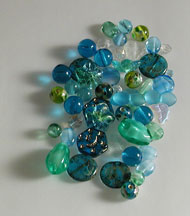
translucent beads
Depth of field
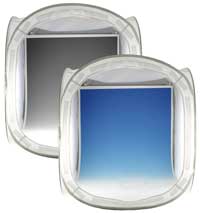
Exposure for a white background
Creating a
dramatic black reflection |
Prop up tall focal beads
with wax
Tricks to capture the shine of
your beads
Swarovski type bead photography
Advanced
bead photo techniques
Bead Photography Tools
|
|
Taking
good quality pictures of glass beads can be very simple if you have the
proper setup. Here
are some simple techniques which even amateur photographers can use to
obtain dramatic results with minimal effort. The following
examples show the basic setup that should allow anyone to achieve results
they can be proud of.
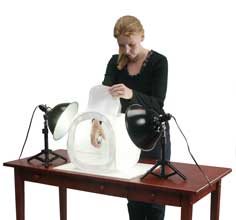
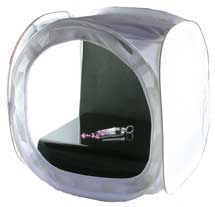
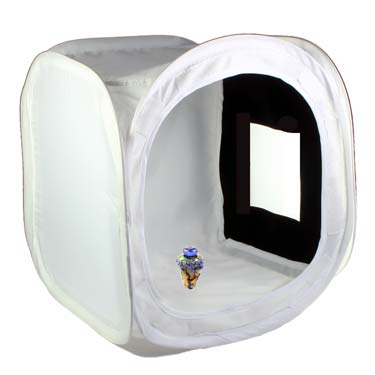
To simplify our setup we used an EZcube®
combined
with an illuminated flat panel to provide soft, diffused lighting &
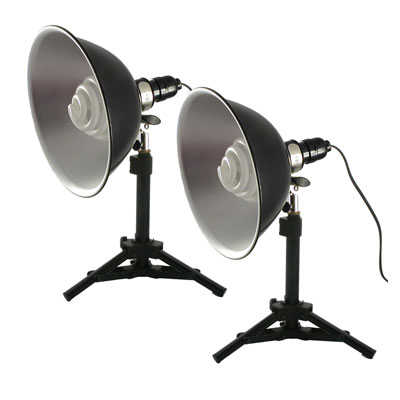
underlighting. We used TableTop Studio's
ShortEZ
lights, equipped with daylight balanced compact fluorescent
bulbs, as the main light source. All of these lights are the same 5000k
color temperature and match nicely.
The keys to good glass bead photography are focus,
exposure, diffuse lighting, and in some special cases underlighting.
It is worth getting your camera's manual out to find out how to put the
camera in "spot focus" mode. The normal focus mode of most digital
cameras is some sort of average focus mode. That means that the camera
will try to look at an area and base the focus on an area of what it sees.
It's better for close up photography to put the camera into spot focus mode,
this will allow you to see exactly what the camera will be focusing
on. Getting the camera to focus properly on the beads
entails some effort, but the results should be worth it. A final word on
focus. The above steps assume that you are using your camera's auto
focus feature.
A couple of words about tripods and product
photography. Use one. As you get closer to an object any motion of the
camera is greatly magnified. Even a surgeon probably doesn't
have hands steady enough to take a good product photo without using a tripod.
A sturdy tripod is essential for sharp images.
We mentioned above that the other key to some glass
bead
photography is the under lighting. The Illuminated flat panel we
chose to use for our underlighting, matches the 5000k daylight
color of the ShortEZ lightset we used. Whatever lights you choose, it is
critical that the color temperature of all your lighting matches. The
illuminated flat panel is not necessary for most product photography, and
will do little or nothing at all for most. However for translucent glass
with the right degree of transparency, the underlighting can give you
almost magical results, highlighting inner glass details that would otherwise go
unnoticed.
Now lets look at some specific situations. |
|
|
|
|
|
|
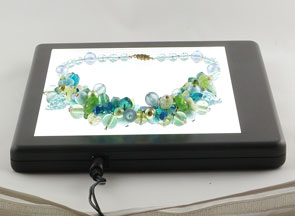
Combining Underlighting &
soft light
|
 |
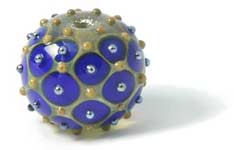
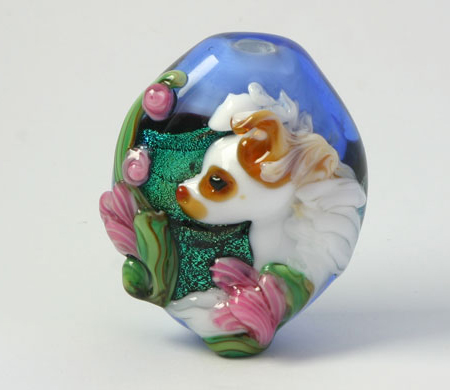
When photographing glass
beads, there are often details inside the glass that are not revealed by
traditional lighting techniques alone. In special cases, underlighting
can be just what you need to draw attention to those details. Without an EZcube® or illuminated flat
panel, the beads appear opaque, and cast unflattering shadows due to the
harsh, unsoftened light.
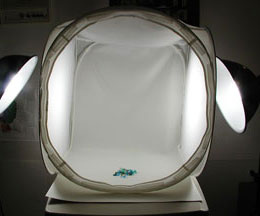
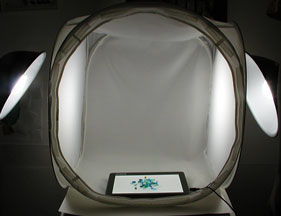
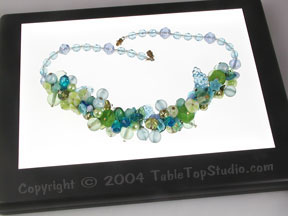
Using an EZcube®
softens the light and eliminates the harsh reflections and shadows.
With the addition of the illuminated light panel, our final image
emphasizes the unique transparent details of each bead.
|
|
|
 |
 |
 |
|
Without an EZcube the shadows and
reflections are harsh. |
Click on above image to see the results |
Click on above image to see
the results |
|
|
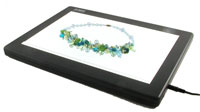
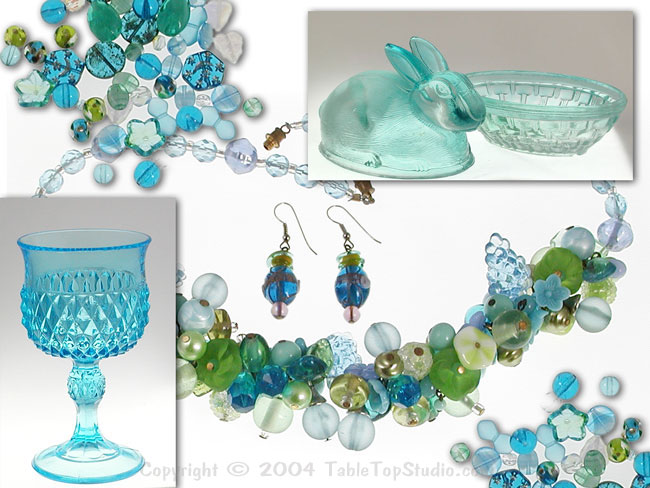
Under lighting & greater depth of field |
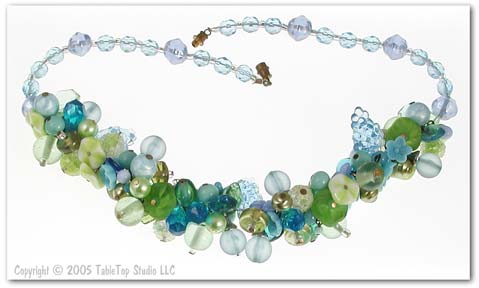 |
The area in which
everything looks sharp is called depth of field. Objects within the
depth of field become less sharp the farther they are from the plane of
critical focus.
By raising the tripod and moving it
closer, shooting almost straight down, all of the necklace will be in the
same plane of focus. This way when you focus on one
section of the necklace, the rest of the necklace is also at about the
same focal distance from the camera.
|
 |
 |
 |
|
The
17" necklace fits snuggly on the
6 x 8" illuminated surface, a bit too close
to the edge for cropping.
|
By
unclasping the necklace, and
repositioning it, we can easily crop out the edge of the light panel in
the final image.
|
Here we see most of our beads are in focus.
|
|
|
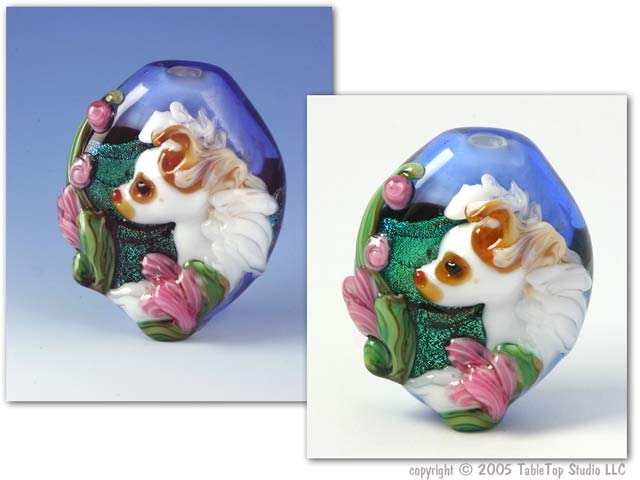
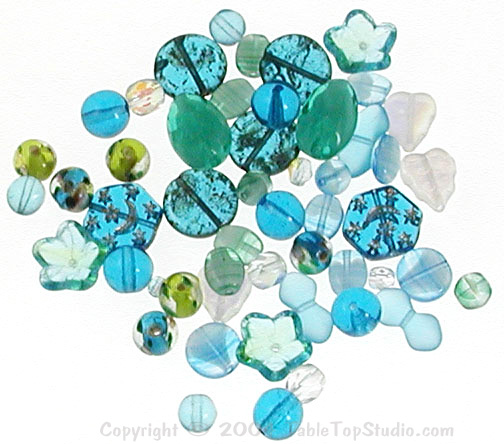
Exposure setting for a white background |
|
|
Handmade pet portrait bead by
L & S Arts |
When shooting against a white background,
your camera will automatically underexpose because it is tricked into
thinking there is more light than there really is. For the white to
apear white we need to adjust the cameras exposure setting. The first photo with cameras default setting E.V. 0.,
is way too dark. {underexposed}. The second image I set the camera to E.V. +1.0
to brighten the image. In the third image, I bumped
up the E.V. to +2.0 for the whitest background. Be careful not too
overexpose or the bright colors will begin look washed out. |
|
|
 |
 |
|
|
E.V.
0.0 too dark-underexposed
|
E.V.
+1.0 brighter
|
E.V. +2.0 brightest exposure
|
|
|
Standing up tall focal beads or pendants using
wax |
|
|
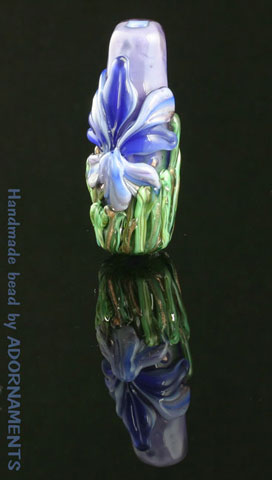
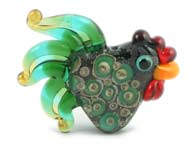
Handmade bead by CYNTHIA
TAYLOR
|
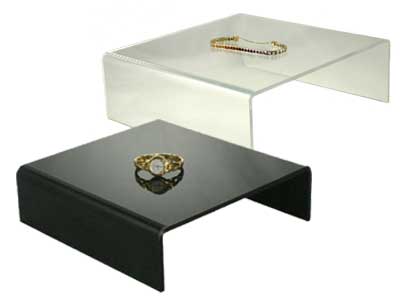
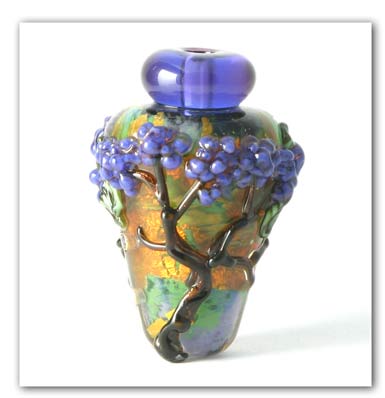
Wax is a great
invisible hand when it comes to standing up tall focal beads or
pendants. There are many different types of wax that can be used. By standing
the bead upright, the shiny black acrylic reflects
the most prominent design area of the bead, the front side. Just place a small bead of wax on the
bottom of your focal bead or pendant to stand it upright.
Remember a little goes a long way. To
clean up I wipe as much as possible off my acrylic stand with a dry
paper towel. Then I use a little Windex to remove the remaining smudge. The wax should hold instantly and
remain in place overnight even. Some of my setups lasted for days,
without tipping. The same wax can also be reused again and again. |
|
|
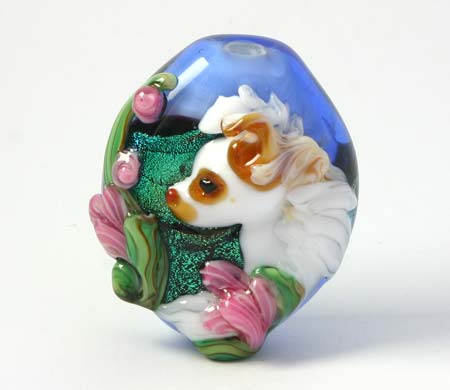
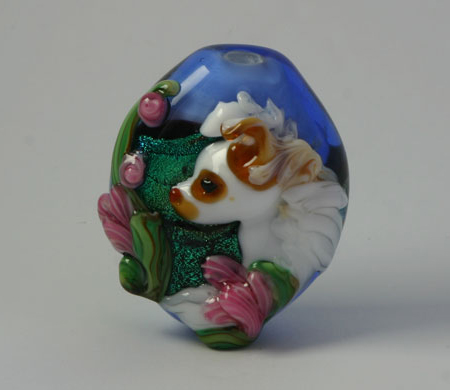
Creating
a dramatic reflection using "black ice" |
|
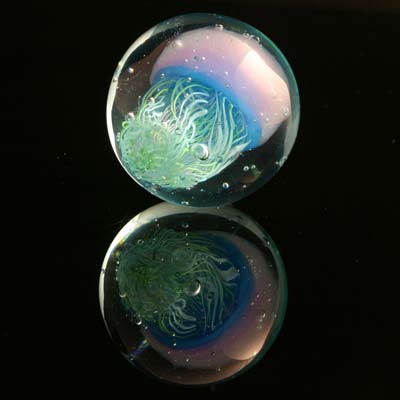
Handmade marble by MICHAEL PETURA |
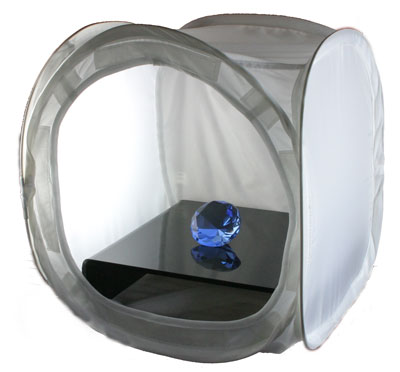
A shiny black acrylic
platform creates a dramatic reflection of any bead or marble placed on top.
Once again I used a tiny bead of wax to hold the marble in place. By inserting a black piece of paper
along the back and inside roof of the cube we can eliminate all of the
unwanted tent reflections. If we do not ad a piece of black paper the
white tent will be reflected clearly on the black surface. The result is
a pure black background with a dramatic reflection.
  |
|
|
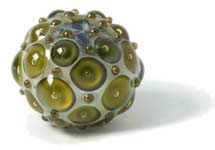
Making your beads appear more
shiny |
|
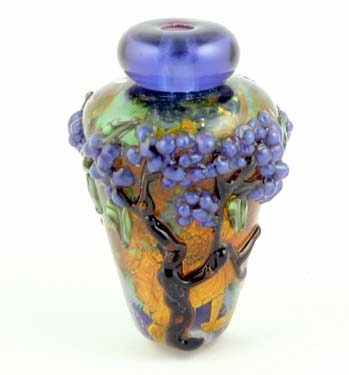
Handmade glass bead by artist LEAH FAIRBANKS |
When shooting with a diffuser sometimes
items do not appear as shiny as you would like. The softened light is so
even, there are no areas of sharp light contrast, which is what our eyes
look for to determine an objects shininess.
The photo below/left shows the soft
light that can make a very shiny object appear dull and non reflective. By using a piece of black paper, we
cut a rectangular shape out of it and shine the light through that side
of the tent. This rectangle will produce a
rectangular shaped highlight as shown to the left. This sharp rectangle
of bright contrast is what our eyes look for in shiny objects. You can
also have some fun and cut a window shape. |
|
|
Here the glass bead does not appear to be
shiny
due to the soft light
|
Setup with light shining
through black rectangle |
|
|
Making your beads appear more precious
|
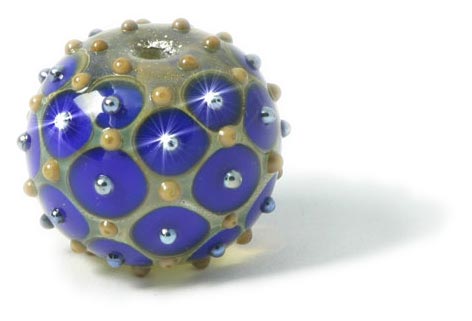 |
Here's a quick and EZ way to add a
touch of glamour to your images in post production. You can often see this
effect used on the jewelry shopping TV shows, in luxury car
brochures, and in printed or televised ads for cars, diamonds, and other
precious objects.These star effects in the past have been created using a special camera
filter that attaches to your camera lens. To get a different star you
needed a different lens filter.
But now this star effect is a simple jpg file that can be dragged and
dropped onto your final image. Many different styles to choose from, and
so easy to use.
Clear and simple video tutorial that will have you productive within
minutes.
Here is an example of how it works...
|
|
|
|
|