| EZcube |
| EZcube |
|
|
|
|
|
|
|
Controlling reflections and glare Making silver appear shiny Avoid adding your own reflection |
Group items to reflect each other Gallery of images Silver photography tools |
|
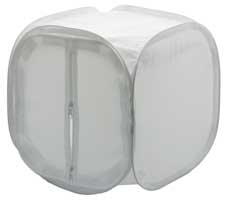
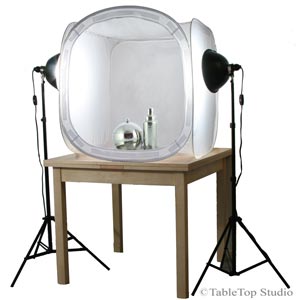
Taking good quality pictures of silver can be tricky. The battle to eliminate or control reflections can seem endless, and glare can be a real problem. However, there are some simple techniques which even amateur photographers can use to obtain excellent results with minimal effort. The following examples show the basic setup that should allow anyone to achieve results they can be proud of. To control reflections and eliminate glare we used an EZcube light tent. There is a handy new feature that is very useful for silver. The design of the front panel has been changed from just a "slitted opening" to a full double zippered front panel, that allows you to completely enclose your silver inside the tent while having just the lens of your camera poke through. The double zipper keeps the opening snugly fitted around your cameras lens, and as small as possible. The EZcube also provides a completely, clean white background softening shadows and eliminating glare too. It is worth noting that I used a wide angle lens for the large barware set shown below. Due to the large size of the item, and necessity to have the lens so close to the object its necessary to use a wide angle lens when working close up with a large piece of silver. (More details on the equipment can be found at the end of this page). Now lets look at some specific situations. |
|
|
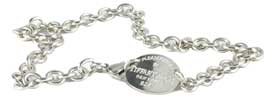
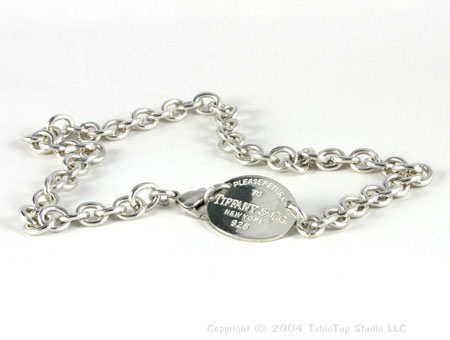
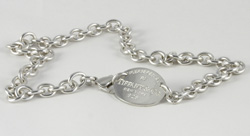
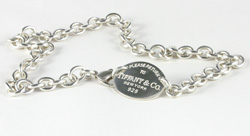
Adding contrast to silver, in this case a bracelet,
|
||||
|
|
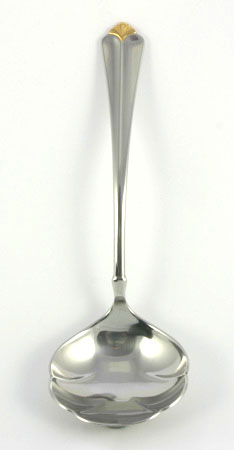
A few reflections are necessary for silver to appear shiny. But we can choose where they go; some positions are better than others.
|
|||
 With no reflections silver can look dull...this image is also underexposed |
 Too many reflections can look dark.. |
 with black paper you can add dark reflections for contrast so it looks shiny. |
||
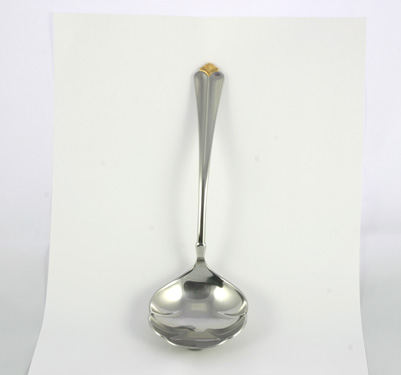 |
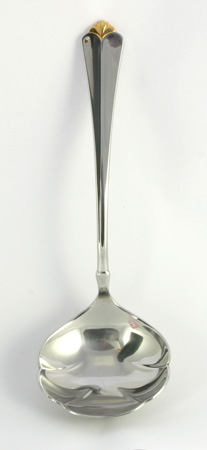
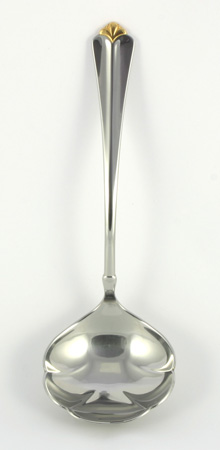
The spoon is propped up against the back of the EZcube and slipped a piece of white printer paper in behind the spoon.
|
||
 This handle looks too "flat" and dull... |
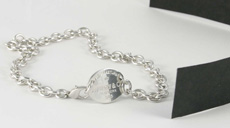
 Don't get caught in the photo... |
 This image is free of people... |
|
|
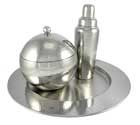
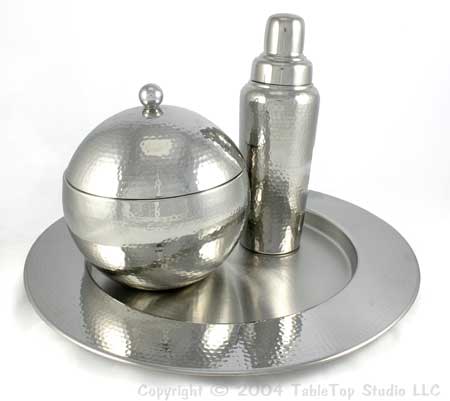
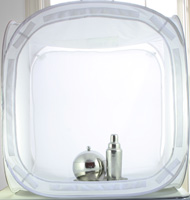
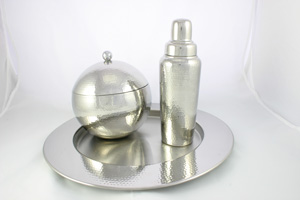
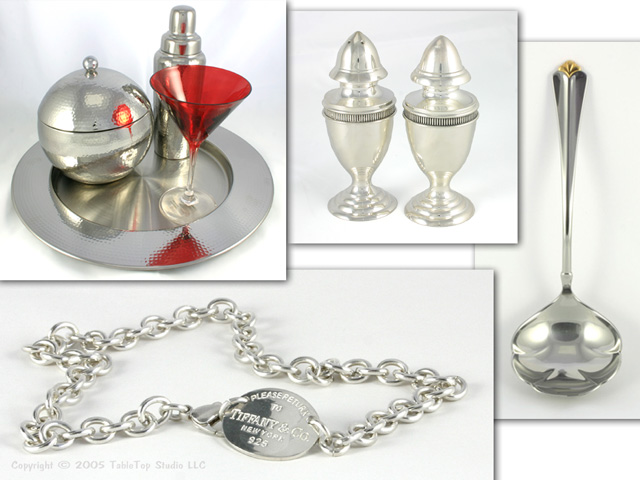
Even amateur photographers can obtain dramatic results with minimal effort. A favorite catalog photography trick is to photograph silver in "groupings" with other attractive items. This way the pieces reflect each other. Then you can label the items individually as "A" "B" "C" etc. |
||||||
|
||||||
|
|
|
|
|
|
Copyright © 2008 TableTop Studio LLC. All rights reserved.