| EZcube |
| EZcube |
|
|
|
|
Soft
& diffuse lighting Exposure settings for a white background Camera position & floral arrangement |
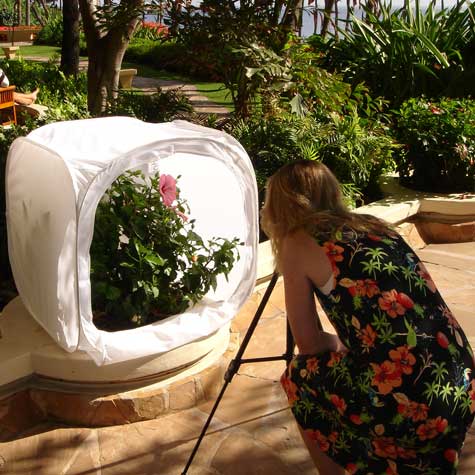
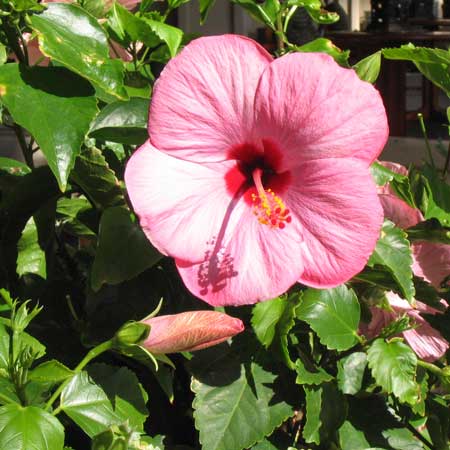
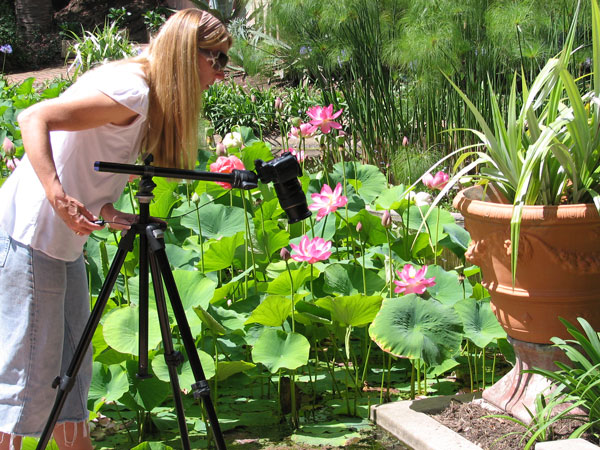
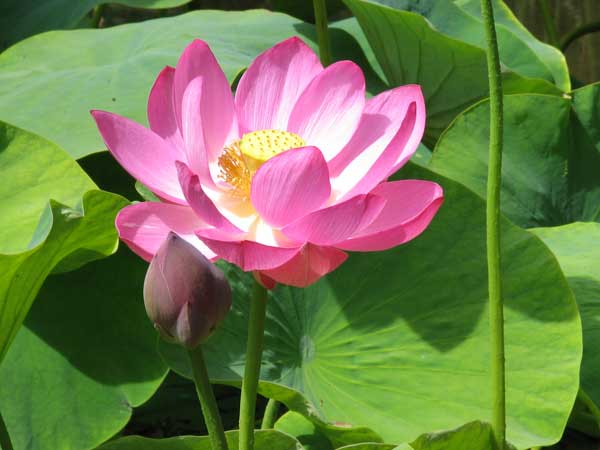
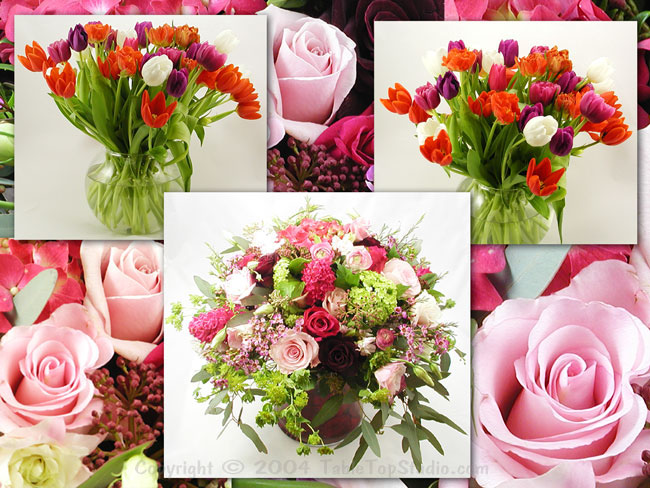
Using the sun for natural lighting Gallery of floral images Flower photography tools |
|
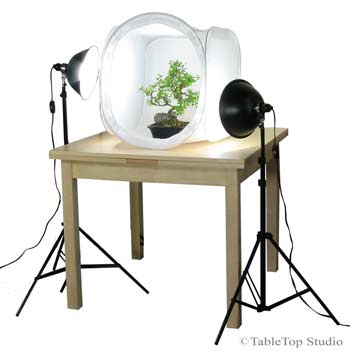
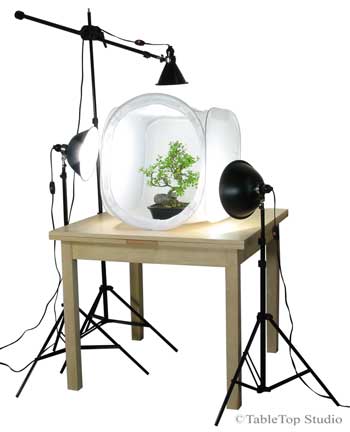
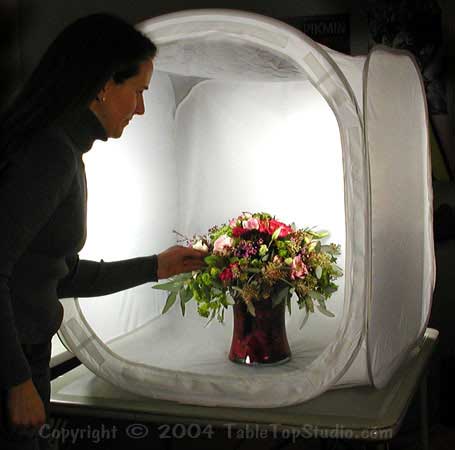
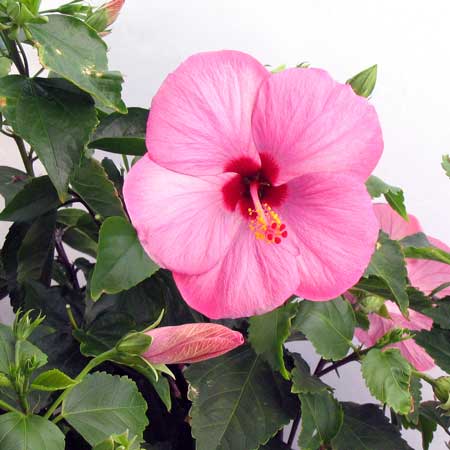
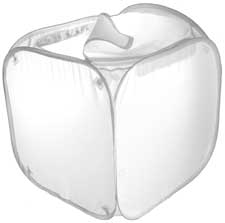
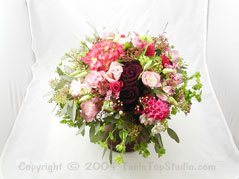
Taking good quality pictures of flowers can seem intimidating. However, there are some simple techniques which even amateur photographers can use to obtain dramatic results with minimal effort. The following examples show the basic setup that should allow anyone to achieve results they can be proud of. These images were all taken using an inexpensive two mega pixel digital camera. To simplify our setup we used a large 30inch EZcube® to soften the shadows and lighting while providing a clean and clutter free background. We used Digital TableTop Studio Two-Light Set as the light source, equipped with true color daylight balanced compact fluorescent bulbs as the main light source. (More details on the equipment can be found at the end of this page).
The keys to good flower photography are focus and
diffuse lighting. Getting the camera to focus properly on the flowers entails some effort, but the results should be worth it. A final word on focus. The above steps assume that you are using your camera's auto focus feature. |
|
|
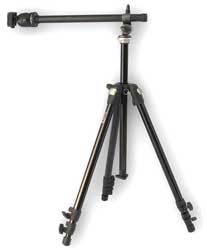
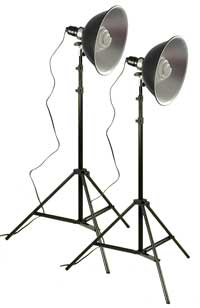
A couple of words about tripods and product photography. Use one. As you get closer to an object any motion of the camera is greatly magnified. Even a surgeon probably doesn't have hands steady enough to take a good product photo without using a tripod. A sturdy tripod is essential for sharp images. We mentioned above that the other key to good bouquet photography is the lighting. You have probably already discovered that an on-camera flash does not lead to good flower photos. Not only is the camera's flash too bright at such a close distance, but it is probably in the wrong position to actually light up the flowers properly. We prefer daylight balanced compact fluorescent bulbs for lighting. Not only do they provide nice natural colored light, but they produce very little heat so they can be left on for long photo sessions without over heating the flowers, the camera or the photographer. Compact fluorescent bulbs fit in standard light fixtures, so a simple adjustable pair of clamp-on lamps fitted with a daylight balanced compact fluorescent bulb makes an acceptable (and very low cost) light source for flower photography. (If you can't locate daylight balanced compact fluorescent bulbs, you can use a standard 100 watt light bulb. However you will need to compensate for the yellowish color cast it will produce. You can compensate for the color either with your camera's white balance (WB) setting or with imaging software). To diffuse and soften the light and shadows we use the EZcube. By positioning the lights on either side of the EZcube, the light shines through the translucent fabric, evenly lighting the flowers and eliminating harsh shadows. Now lets look at some lighting setups & specific situations. |
|
|
|
|
|
|
One way to ensure you get the best exposure is to take at least three pictures. The first exposure use the default camera exposure setting of (0). The second, exposure increased by (+) to make the image lighter. For the third, exposure decrease (-) to make it darker.
|
|
 |
 |
|
| E.V. -1.0 too dark | E.V. (0) somewhat brighter |
E.V. +1.0 bright enough |
|
|
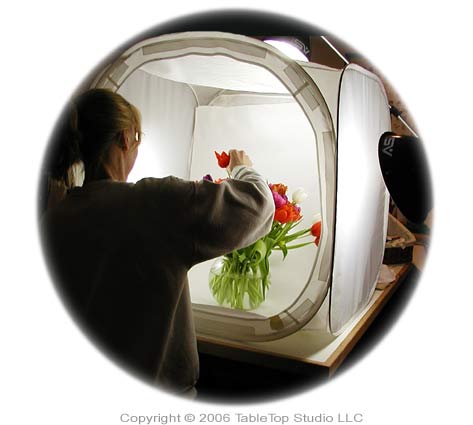
While working with flowers in the EZcube®, I chose to insert a large piece of paper from an art supply store, on top of my sweep. I did this because I did not want a mess if the water spilled from the vase onto my clean sweep.
|
|
 |
 |
|
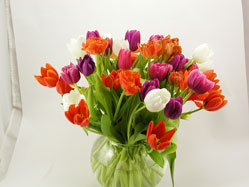
| From this camera position, the paper and tent seams will show in my final image |
Proper positioning; no seams will show in this image after it's cropped |
Spin the arrangement to find |
|
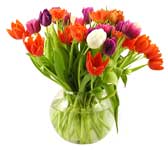
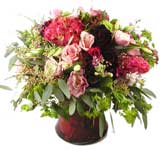
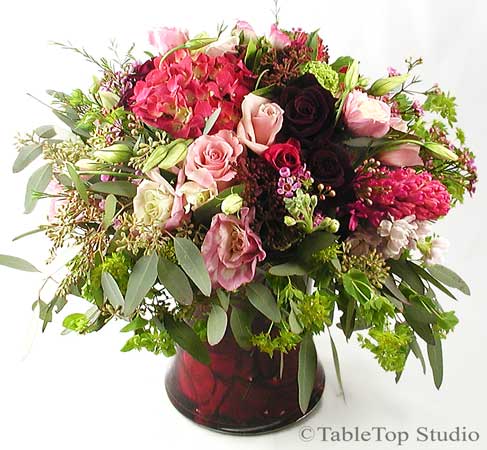
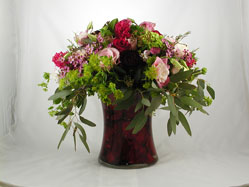
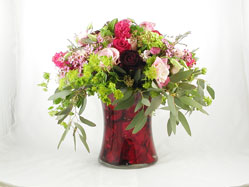
Emphasize the beautiful flowers and not the vase |
||
|
|
Keeping a photo diary of successful set-ups and settings is a great idea. It will save you time in the long run, when you shoot similar set-ups down the road.
|
|
 |
 |
|
|
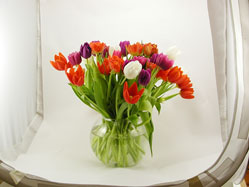
This camera position shows most of the vase. |
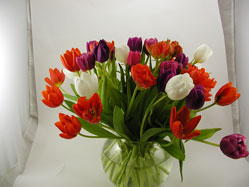
By
raising the tripod, and moving it closer, our new view shows more flowers. |
A compromise. My favorite view shows a bit of each. |
A horizontal tripod can be useful for shooting straight down
on the flowers
Even
amateur photographers can obtain dramatic results with minimal effort.
Below images were cropped, but otherwise unaltered and were
taken using an
inexpensive 2 mega pixel camera.
|
Floral Photography
Tools |
||
|
|
TableTopStudio lights
Trumpet top bulbs |
|
|
|
|
|
|
|
|
Copyright © 2008 TableTop Studio LLC. All rights reserved. |