Using Lighting the EZcubeTM with sunlight

Home | Store | Site Map

Natural Daylight as a light source

Sunlight is an inexpensive source of light, but you have probably already discovered that unless it is foggy or hazy day, direct sunlight is normally too "harsh" to be useful for product lighting.  Direct sunlight (ie light without a diffuser like the sides of the EZcube) creates very sharp and often undesirable shadows. Direct sunlight can also cause glare from the subject. The EZcube softens and diffuses sunlight creating nice soft shadows while reducing or eliminating the glare.

When using sunlight as a light source it's best if possible, to take the cube outdoors. Orient the cube with the opening facing away from the sun.  (This is the opposite of normal outdoor photography in which you would typically try to keep the sun behind the camera and in front of the subject.
 

The EZcubeTM is perfect for outdoor photography using natural sunlight. The light tent diffuses the bright sunlight to soften shadows and eliminate glare.
  1. Position the EZcube with the sun directly behind it. The fabric diffuses and softens the sunlight for a very softly lit final image.
     
  2. The opening of the EZcube is facing away from the sun.
     
  3. The results are amazing, perfect natural lighting with vibrant colors.

Wait for a nice sunny day...

face the EZcube away from the sun...

perfect natural lighting.


Another consideration when using sunlight as a light source is to be aware of the fact that the color of sunlight will vary considerably depending on the time of day.  Early morning or late afternoon sunlight has a yellow or orange color cast compared to the midday sunlight.

  1. The 20" EZcube worked very well for this 10" vase.
     

  2. Center your product inside the EZcube.
     

  3. Crop out the sides of the EZcube for your final image.

1:00 PM daylight

Set the product far enough inside the tent so the front edge won't inhibit final image cropping. Final cropped image, no color adjustment was necessary.


One way to ensure you get the best exposure is to take at least three pictures. The first exposure using the default camera setting of (0). The second, exposure is increased by (+) to make the image lighter. For the third, exposure is decreased (-) to make it darker.

  1. The EZcube placed facing away from the sun. Try a few different exposure settings to see what looks best.
     

  2. The second image exposure was set to E.V. -1.0. Its way too dark. The image appears very underexposed.
     

  3. In the third image, I raised up the exposure setting to E.V. +1.0 for a lighter and brighter image and whiter background.

All ready to shoot in full sun.

This image is underexposed, and too dark.

The best exposure for this was E.V. +1.0


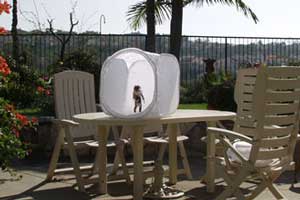
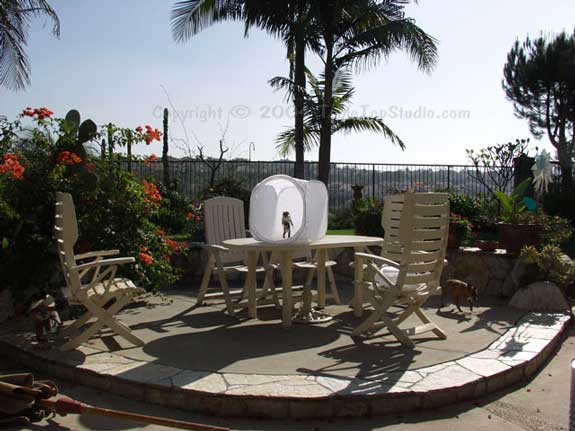
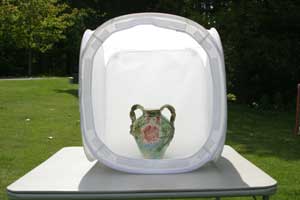
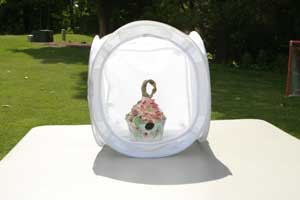
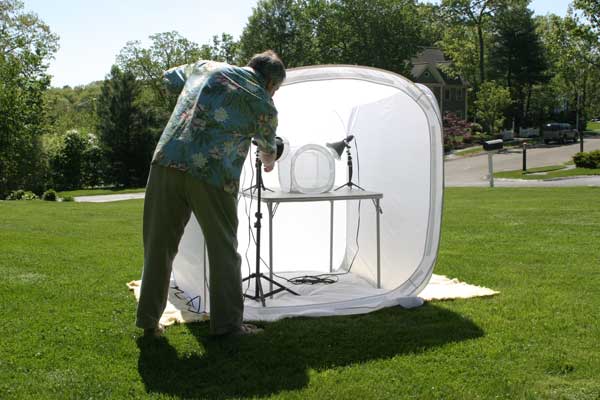
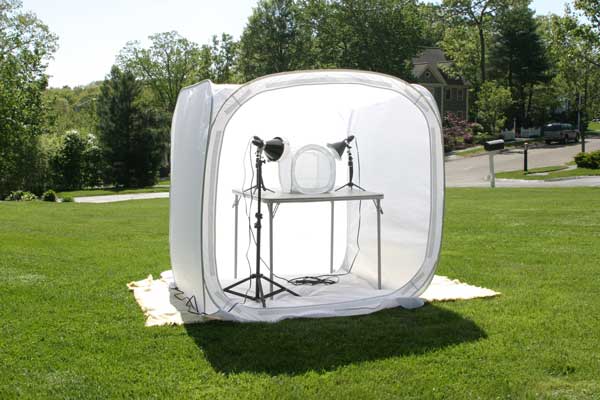
Using our largest 55" Mega EZcube outside made shooting our own products easy. This large size is too large for our own indoor studio, but worked great for us outside.  The sunlight provided wonderful, even lighting for our photo shoot.  What better way to photograph an EZcube, than to use a larger size EZcube to get the job done.

If you will 
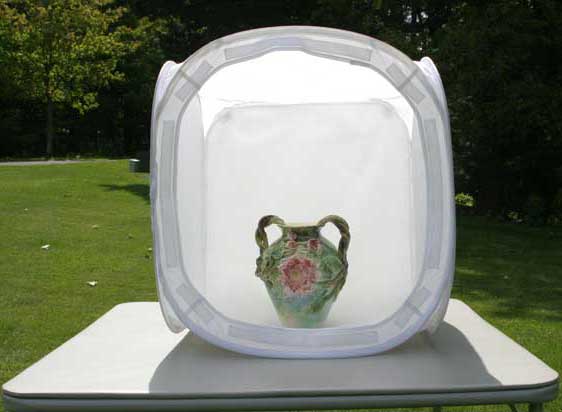
be working indoors with sunlight as the light source, you should position the cube near a large unobstructed window. (Obstructions may create unwanted shadows).  Keep in mind that if the light from the window has been reflected off of nearby buildings, trees or other objects it will pick up the color of those buildings, trees or objects.  The same applies to sunlight which has reflected off of the walls or objects inside the room. (If the light striking the cube has picked up color, the white fabric of EZcube will not remove that color, it will transmit the color onto the subject unchanged.)
 

Even amateur photographers can obtain dramatic results outside
with minimal effort. Below
images were photographed outside in the EZcube with sunlight,
 then cropped, but otherwise unaltered.


Copyright © 2004-2006 Tabletop Studio, LLC. All rights reserved.