Clothing & Fashion Photography |
|
    |
|
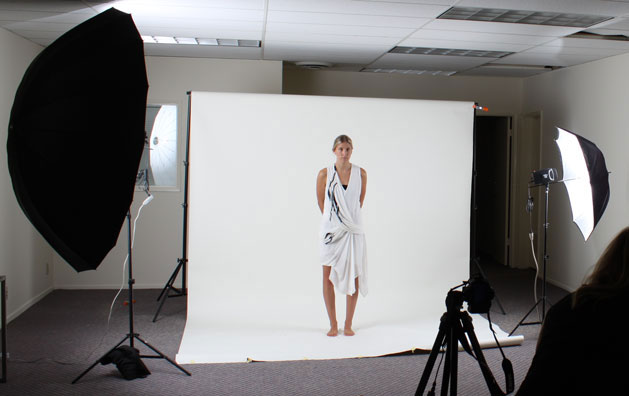
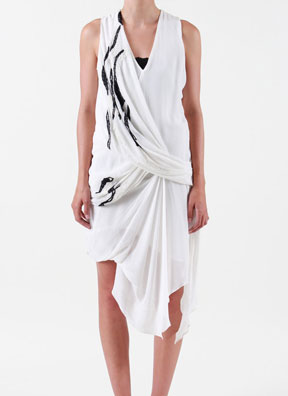
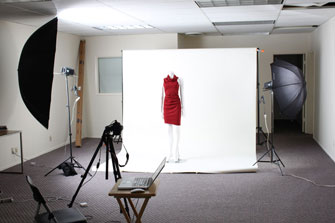
Taking good quality pictures of clothing can be tricky. The battle to eliminate or control harsh shadows can seem endless, and soft, even lighting can be a real problem. Figuring out how best to display the clothing so it appears appealing to shoppers is also a challenge. Here are a variety of tips to display your clothing for great results ranging from the most basic folded display to the most professional fashion model. There are some simple techniques which even amateur photographers can use to obtain excellent results with minimal effort. The following examples show several basic setups as well as a more elaborate fashion model set-up that should allow photographers at all levels to achieve results they can be proud of. The easiest technique to learn and have success with, is shooting clothing flat. Some great examples of flat or folded clothing photography can be seen online at GAP kids and L.L.Bean web stores. This is the last technique we will focus on in this tutorial. Keep in mind that these companies hire experienced photo clothing stylists to spend countless hours fussing over the tiniest layout details. A great deal can be learned from studying their final layout selections. The first technique covers use of a live fashion model. The folded technique has some basic limitations worth considering. We are shooting from "above", so we have limits as to how high we can raise our camera safely, using a horizontal tripod. If the clothing is large, the edges may inadvertently get cropped from the cameras view if the camera is too low. For a dress you may need to raise the camera to a height of 6' to 8'; although by 6' you may find you need a small step ladder to see through the viewfinder. Large chains ie. L.L.Bean have tall, sturdy scissor lifts, with large format cameras mounted on them specifically made for this purpose. These allow the camera to be raised to almost any height. Now lets look at some specific situations. Full body shots of live models or mannequins requires large lights. And, although they may seem more difficult to work with live models should really be shot with strobe (flash) lights which will freeze any motion. Our Fashion and Clothing Photography Kits have a choice of large continous lights for shooting folded clothing or strobes for live models. |
|
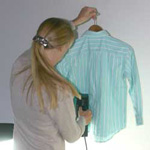
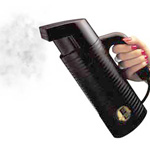
If you have never used a steamer before, then be sure to view the videos of using a steamer on the Jiffy Steamer web site. They show how to run the steamer along the front and inside of each piece removing wrinkles along the way. I have burned plenty of clothing in the past, by holding a hot iron on one spot for too long. So for me, working with a small steamer was a real treat. Also, there you can't add new creases by mistake, as commonly occurs when ironing. |
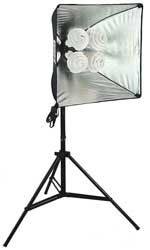
You may have noticed if you are shooting without a diffuser, that your shadows are too strong, and may be overwhelming your product. Professional photographers use soft diffused lighting to get the best results. The new Tabletop Studio Kuhl Lites are unique in design, they hold four 30W bulbs each and include a removable diffusion panel. The choice of using 1-4 bulbs provides a huge amount of flexibility for lighting. |
 |
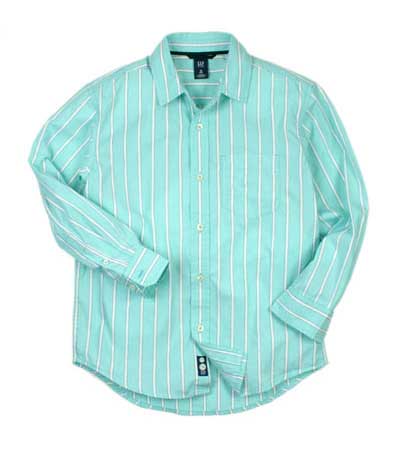
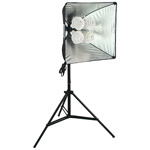
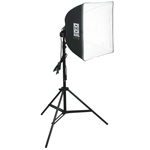
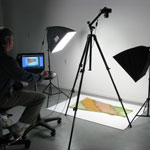
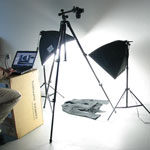
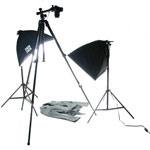
Flat art photography inherently poses certain lighting challenges. The lights used need to provide smooth, even lighting over a very large, broad, flat surface. To achieve balanced, even lighting we will use two large 20" soft boxes {Kuhl Lite120's}. The set shown here included optional diffusion panels that can be attached to the front to soften the light. Since our items are flat, it's fine to position two equal light sources on opposite sides of the clothing. Normally this flattens an image. But our items are truly flat; like a poster, so flat lighting is fine.The large size of the soft boxes complements the large size of the clothing to provide very smooth, even coverage. |
|
 |
||
 |
You may not be shooting the Grand Canyon, but you'll still want a wide angle lens for photographing clothing. I used a 28-100mm lens for most of these examples, but a nice 18-55mm would work great too. Be aware that as you go down closer to 18mm your clothing images may show some signs of warping. Just pay attention to the images as you go, to be sure your not using too wide an angle for the item. Let the results be your guide if your lens is adjustable. |
 |
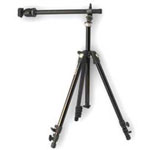
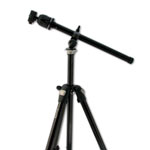
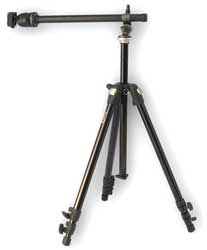
Use a camera that has a short focal length {wide angle} lens. This will allow you to see a larger area of your subject; the entire piece of clothing. A wide angle lens views a larger
"wider" area vs. a zoom or macro lens that narrows the view to a
smaller section of space. Your camera should be positioned directly above the clothing. If the tripod is raised up high, use a small step ladder to safely look through your cameras viewfinder. |
 |
 |
||
 |
It is convenient to use a tethered setup between camera and computer to control the camera. Many cameras include this software for free. In this case you can instantly view the image on the computer screen, allowing for faster feedback. This is a time saver in most cases. The only real financial investment needed is the cable long cable that runs from the computer to the camera. Most recent camera models include the software for free. |
 |
A tethered setup allows you to operate the camera directly from your computer or laptop system without leaving your seat. Well that may be a slight exaggeration, but it does save you time by providing a much larger view of your photo immediately. The software allows you to adjust your camera settings such as exposure, depth of field, and file format etc. right from your laptop desktop. Although we have not yet discussed shooting using mannequin, If you place your mouse over the left image you can see this dress on a mannequin we will discuss using later on this page. Getting a good photo using a mannequin is much easier than learning to shoot a live model. |
 |
 |
||
 |
Surf the web a little doing some research on styling you like for items similar to yours. Patagonia & the Gap spend a fortune on clothing stylists, so why not look at their item layouts if they are similar to yours. Knowing what you would like your piece to look like in the final image is a good idea before you begin. If you don't have an idea in mind you could spend hours fussing over the stuffing etc. without getting a good shot. Save yourself some time and frustration by doing your homework first. What do other sellers do with similar products that work? |
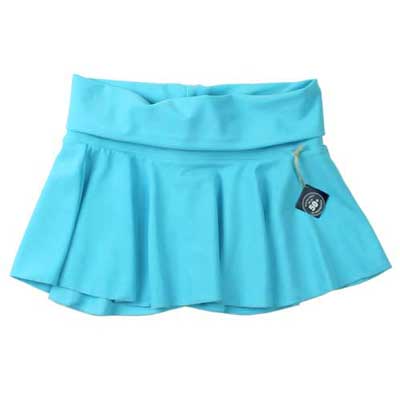 |
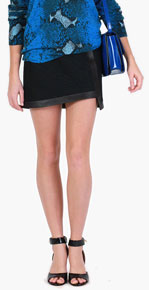
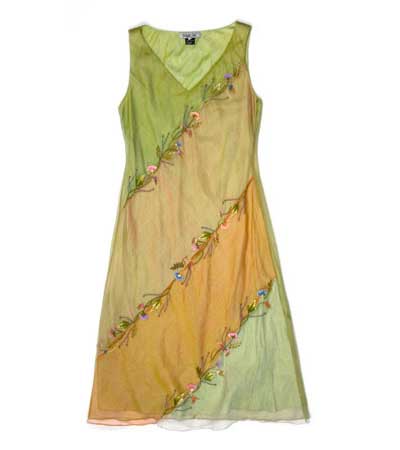
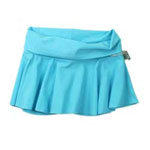
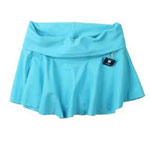
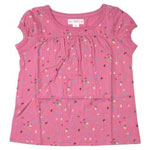
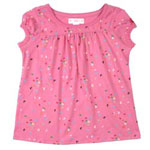
I cannot stress styling enough. Study your favorite clothing web site photos for tips on how to arrange your clothing on the boards. Tissue paper and cotton batting make nice fillers for clothing to help give the articles a little life and add dimension.If your item has tags be sure your tags are facing front so they can be read. In some cases it may be helpful to pin the article to the board to hold it's position. This is only necessary if you are struggling with getting it to keep from changing position. The final skirt layout is cute and perky. Place your mouse over the left photo to see where we placed some stuffing. The placement we chose created shadows in that area which gives the image a more life like appearance. |
 |
 |
||
 |
Photoshop tricks can do many wonderful things for tweaking a final image but I have yet to see it remove wrinkles from a shirt! If you plan to shoot lots of clothing then you'll be thrilled with the little Jiffy esteam hand held travel steamer that I used. The travel size is about the size of a coffee thermos and can steam 5 to 10 articles of clothing in between refills, depending on their size. It is not industrial size, but I found it was not as messy to use as the larger commercial size. The commercial size is the size of a vacuum cleaner. |
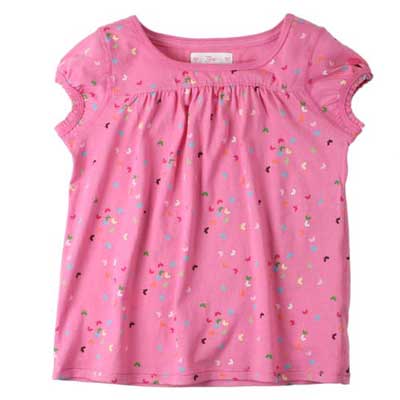 |
Place your mouse over the image on the left to see what it looked like before it was steamed and "stuffed" with cotton batting. Examine the image carefully to see how our cotton batting that was stuffed beneath the neckline edge. I used cotton ball size batting to raise the neckline front edge just enough to create the shadows seen in the photo on the left. This stuffing produced a very nice separation of the neckline front from the neckline back. The little soft shadow created by simply raising the front neckline edge slightly, helps the shirt pop more.
|
 |
 |
||
 |
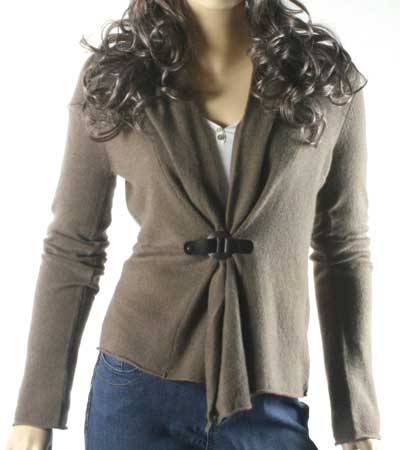 |
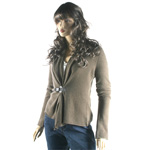
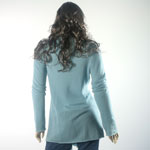
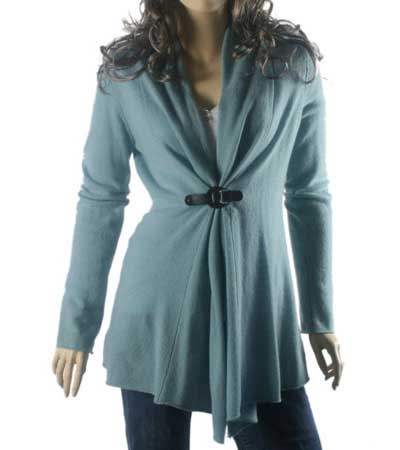
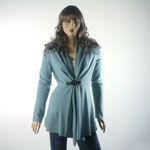
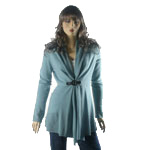
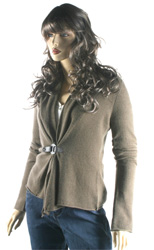
If you decide to use a mannequin select an attractive style that fit's the clothing you plan to photograph. The face of a mannequin always looks a bit fake. Just crop images below the chin for close-ups, so the face is not part of the image. The head and face look fine in small thumbnail size images. * Tip - A quality wig can make it look more like you hired a model. Dressing the mannequin is tricky, the arms & legs need to be removed and reattached as you struggle to get the clothing on and off for each shot. Don't try this for the first time in a hurry, or you'll be extremely frustrated. * Tip - Change the wig for a new look! |
 |
 |
||
 |
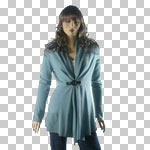
If you decide you want a completely stripped out, page white, background, it is easy. Photoshop elements, the scaled down less expensive version of Photoshop, will do the trick. Select the background using the selection tool set to 25-30. Inverse the selection to highlight the mannequin. Create a new layer of just her. Then fill the layer below with white. Michaelstars website uses this trick for the entire site. It's up to you! |
Clothing photography has many different subgroups that make it difficult to put together the perfect clothing photography kit for all situations. Many sellers specialize in just a a section of the clothing market such as woman's clothing, children's or men's. The equipment recommendations change slightly with the different categories. The setups below cover a broad spectrum of needs from shooting live models, mannequins or flat/folded clothing. Be sure to choose the right tools for your photo strategy. If you are using a live model strobes are a MUST. |
Copyright © TableTop Studio INC. All rights reserved.