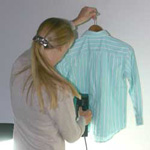
How do you photograph clothing on a model, mannequin or folded flat?

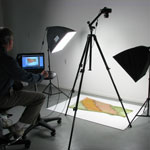
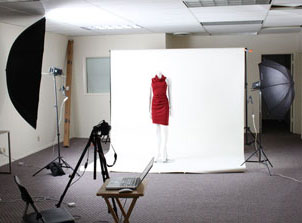
Taking good quality pictures of clothing can be tricky. The battle to eliminate or control harsh shadows can seem endless, and soft, even lighting can be a real problem. Figuring out how best to display the clothing so it appears appealing to shoppers is also a challenge. Here are a variety of tips to display your clothing for great results ranging from the most basic folded display to the most professional fashion model. There are some simple techniques which even amateur photographers can use to obtain excellent results with minimal effort. The following examples show several basic setups as well as a more elaborate fashion model set-up that should allow photographers at all levels to achieve results they can be proud of.
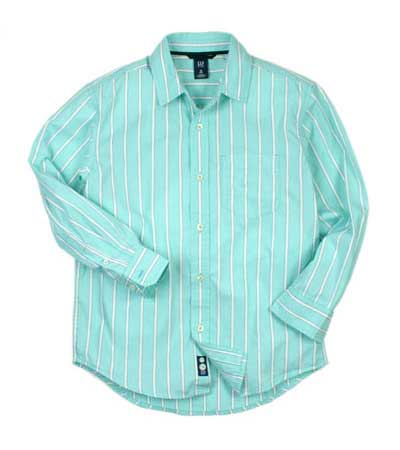
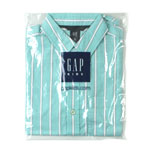
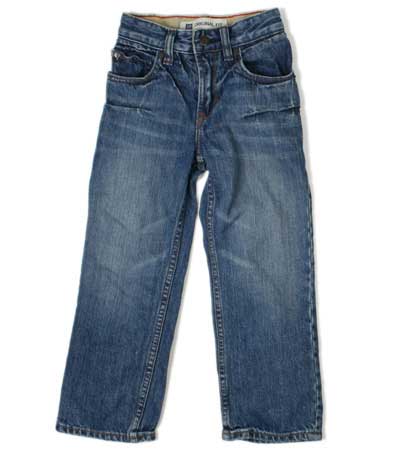
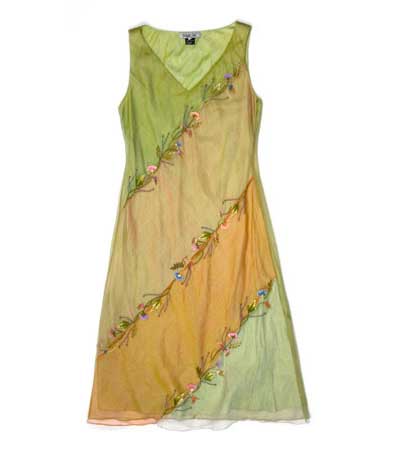
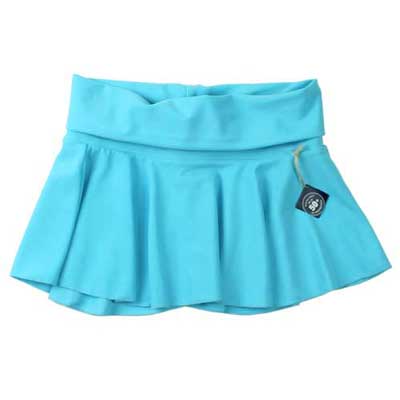
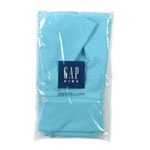
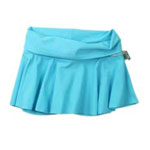
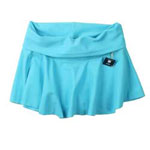
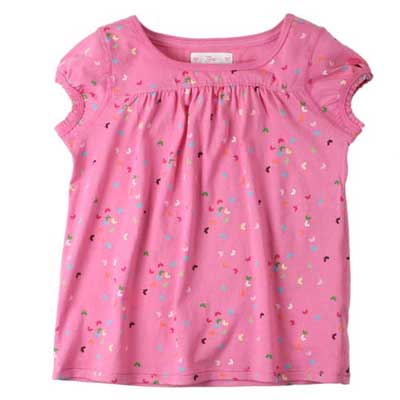
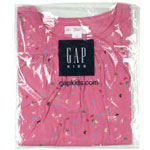
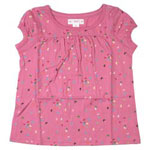
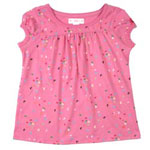
The easiest technique to learn and have success with, is shooting clothing flat. Some great examples of flat or folded clothing photography can be seen online at GAP kids and L.L.Bean web stores. This is the last technique we will focus on in this tutorial. Keep in mind that these companies hire experienced photo clothing stylists to spend countless hours fussing over the tiniest layout details. A great deal can be learned from studying their final layout selections. The first technique covers use of a live fashion model.
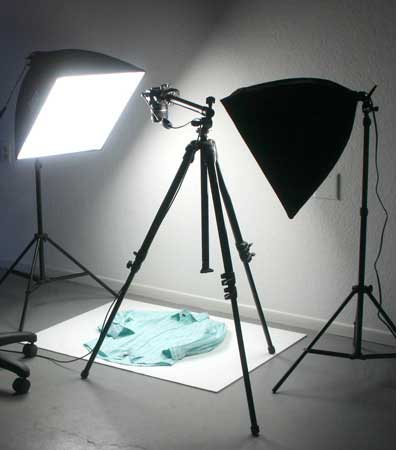
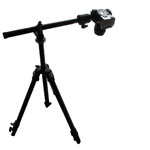
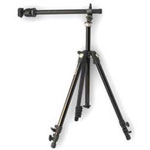
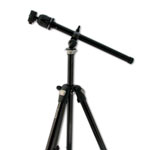
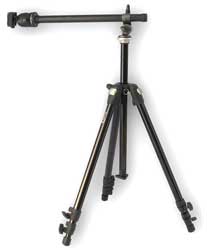
The folded technique has some basic limitations worth considering. We are shooting from "above", so we have limits as to how high we can raise our camera safely, using a horizontal tripod. If the clothing is large, the edges may inadvertently get cropped from the cameras view if the camera is too low. For a dress you may need to raise the camera to a height of 6' to 8'; although by 6' you may find you need a small step ladder to see through the viewfinder. Large chains ie. L.L.Bean have tall, sturdy scissor lifts, with large format cameras mounted on them specifically made for this purpose. These allow the camera to be raised to almost any height. Now lets look at some specific situations.
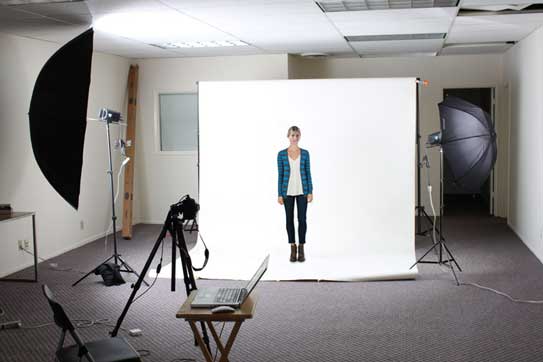
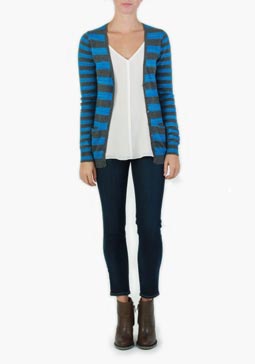
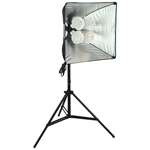
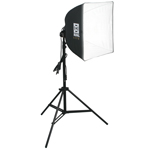
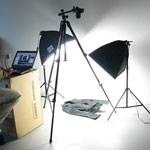
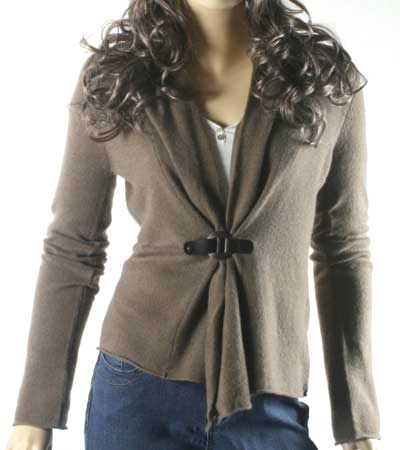
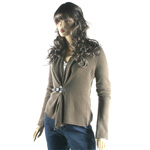
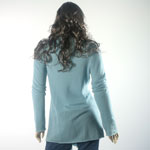
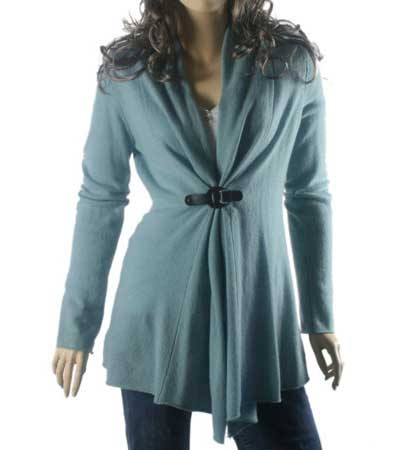
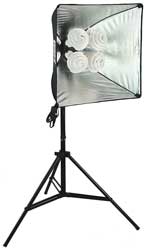
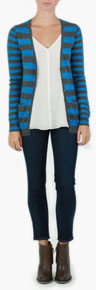
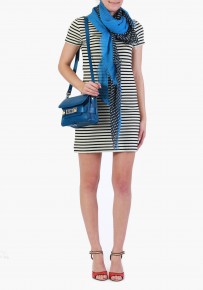
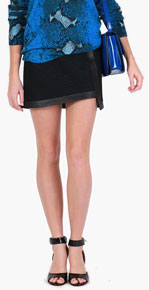
Full body shots of live models or mannequins requires large lights. And, although they may seem more difficult to work with live models should really be shot with strobe (flash) lights which will freeze any motion. Our Fashion and Clothing Photography Kits have a choice of large continous lights for shooting folded clothing or strobes for live models.